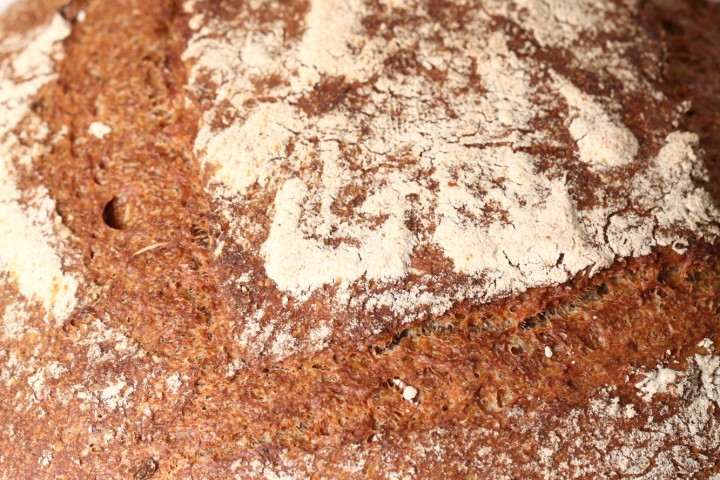
Yes you ambitious home bakers, you have to make a miche, if only once in your baking life…
Probably made most famous by Parisian baker Poilâne the miche can be defined as a very large rustic sourdough bread, usually a round loaf made from a natural leavening that also has a high percentage of whole wheat flour in it. Its very large size with low crust to crumb ratio means it also keeps better, which was important back in the day when people made bread only about once per week. For centuries, French villages had communal ovens where the townsfolk would bring their dough to be baked. To be worthy of the term miche, each bread has to weigh from around 1.5 to over 5 kg!
Our version of this bread, based on a recipe from the Hamelman ‘Bread’ book, could be considered a small miche, weighing around 1.6 kg before baking. It is made with a combination of mostly whole wheat flour and rye flour, water, leavening and salt and could therefor also be labeled a traditional or classic type of miche. Of course it is also fun to experiment with different percentages and types of flour, creating different crust and crumb structures.

Ingredients for the preferment
30 g bread flour
150 g wholewheat flour
106 g water
36 g sourdough culture
Making the preferment
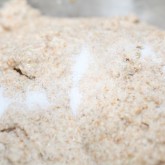
This miche is made with a stiff sourdough starter dough. You make the preferment the evening before you make the bread, provided you want to bake the next morning (it takes 12 hours to ferment). Make the preferment by dissolving 36 grams of your active sourdough culture (we use our rye sourdough culture for this recipe) in 106 grams of water and add 30 grams of bread flour and 150 grams wholewheat flour. Stir until it comes together and finish by kneading the dough by hand until you have a ball (about one minute tops). Put the dough ball in a bowl, cover with clingfilm and let it ferment for 12 hours at room temperature.

Ingredients for the miche
makes 1 Miche 1.6 kg
322 g sourdough preferment – 12 hours
110 g bread flour
110 g whole rye flour
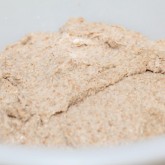
500 g wholewheat flour
582 g water
15 g salt
Making the miche
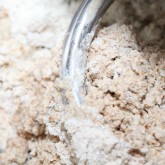
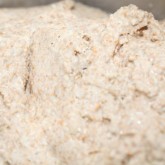
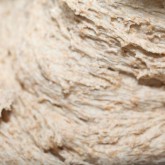
Dissolve the preferment in some of the water you are going to use. This makes it easier for the ingredients to combine. Put the sourdough starter and flour in the mixing bowl of your standing mixer and add 2/3 of the water. Now start mixing and gradually add the rest of the water and let the dough come together (see if you need all of the water or even a bit more, depending on the flour you use). Knead for 1 minute until you have a shaggy mass (as Hamelman calls it). Leave it in your mixing bowl, cover and let it rest for 30 minutes. This process is called ‘autolyse’.
After the autolyse phase distribute the salt evenly on top of the dough and knead the dough for another 5 minutes (about 10 minutes by hand, depending on your technique) and watch it turn into something more resembling bread dough. Return to a greased bowl and let it rest for 50 minutes.

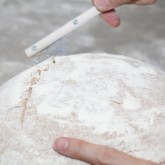
Slashing the dough around the windmill
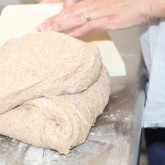
Now take the dough out of the bowl and onto a floured work surface and do one stretch and fold (see our video to observe this technique if you are not familiar with it). Transfer to the bowl, cover and leave to rest for 50 minutes. After 50 minutes again transfer it to the floured work surface and do another stretch and fold. Transfer to the bowl, cover and again leave for 50 minutes. This is your second stretch and fold.
Preheat your oven to 235 ºC / 455 ºF (at what stage you preheat your oven depends on how long it takes your oven to heat through, some take 30 minutes, some with stone floors take a lot longer, up to two hours. The preparation time from this point until the bread actually goes into the oven is about 90 minutes! So you might want to preheat your oven at a later stage but make sure it’s well heated).
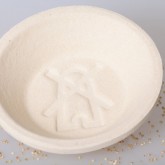
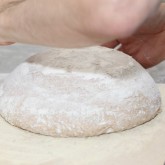
Now it’s time to shape. Shaping is something for which everybody develops his or her own technique over time. If necessary you can learn more on shaping from a good bread book, like the ones by Hamelman or Reinhart. Your big 1.6 kg piece of dough has to be shaped into a ball or boule. You can watch our short video clip to learn about a technique that works well for us. Sprinkle the top of your boule with flour, turn it upside down and transfer your boule to a prepared proofing basket (banneton).

Now cover and leave to proof for 90 minutes. When you think the bread has risen enough, use your finger to carefully make a very small dent in the dough. If the dent remains, the bread is ready to bake, if the indentation disappears, the dough needs a little bit more time.
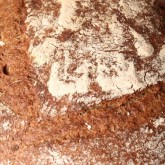
Now your miche is ready for the oven. Slash the top of the miche with a lame or bread scoring knife.
To get a nice crust, try to create some steam in your oven by putting a small metal baking tray on your oven floor when you preheat the oven and pouring half a cup of hot water immediately after putting the bread in the oven. Release some steam by setting your oven door ajar (perhaps with the help of a wooden spoon) 5 minutes before the bread is ready. If you are going to create steam with a baking tray, you maybe also want to turn your oven temperature a bit higher, because you are going to lose some heat in the process.
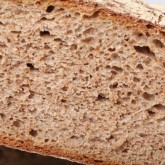
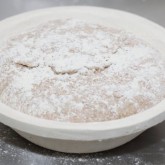
After 70 to 75 minutes of baking your miche should be ready. Transfer onto a rack and leave to cool. This miche stays very edible for several days and also keeps well in the freezer. It is best to leave this bread to cool and ‘set’ for half a day or so before cutting and eating.

Miche time table
day 1 22.00 h Make starter let ferment for 12 hours at room temperature
day 2 10.00 h Make the final dough
- 10.00 h Dissolve starter in some of the water
- Add flour and water and knead 1 minute
- Autolyse for 30 minutes
- 10.30 h Add salt and knead for 5 minutes
- Leave to rest for 50 minutes
- 11.25 h Stretch and Fold
- Leave to rest for 50 minutes
- 12.15 h Stretch and fold
- Leave to rest for 50 minutes
- 13.05 h Shape
- Approx 90 minutes final proofing at room temperature
- 14.35 h Into the oven for 70-75 minutes
- 16.05 h Out of the oven and leave to cool





Thelma Clivek9 says
CAN I HALF THIS RECIPE?
Weekend Bakers says
Yes, you can, no problem. Just use halve of the ingredients. The one main thing to keep in mind is to reduce the baking time to about 40 to 45 minutes.
Enjoy your miche baking
Juraj says
Hello, im interested in making this kind of bread but i need a few advices. Im from Croatia and our grandmas used to make bread similar to this one, but they would take part of dough and leave it to ferment and use that as a yeast for their next bake. They would bake it in their fireplaces under peka (metal or clay bells covered with hot coals) or in krušna peč (same as pizza oven). They used to put leafy vegetable like swiss chard on bottom to add some moisture to baking. The bread would weigh from 2 to 5kg and it would be amazing, lasting for 5-7 day. I will try to make something similar with sourdough so i wanted to ask if i should just follow this recipe and bake it under the metal bell or maybe you could give me some advice.. any advice helps. Thanks any way 🙂
Weekend Bakers says
Hello Juraj,
What a great story to read. We do hope you still have a form of recipe you can use that is authentic and understandable for us modern bakers.
Our method would be to first bake the old recipe and this recipe separately.
Then, depending on the result, incorporate one aspect of the old one to the miche recipe (baking under the bell for instance) and then maybe another.
See what you like best and make notes of what goes right and wrong. Just keep baking and experimenting. This way your own favorite method and loaf will emerge.
We wish you an enjoyable baking journey!
Wesley says
Hello. I’ve tried this recipe a couple of times and wanted to ask if you can leave the preferment to ferment for longer. Say 16 to 18 hours?
Wesley
Weekend Bakers says
Hi Wesley,
Yes, this is possible. We would estimate you should start by adjusting the amount of sourdough culture to around 24 grams. You need to see how this goes, because the whole speed of the development depends very much on the temperature of the preferment and the room temperature and the ‘enthusiasm’ of your culture. So it can be a bit of trial and hopefully not much error to see what amount works well for your personal situation.
Hope it will be great. Enjoy your baking.
Peter Werner says
This a very good recipe. Very professional. I have tired of most internet cooking sites because (a) I don’t care about your grandmother in Vermont or your imagined memories, (Bl) Irish sea salt is not
a necessary (c) I was a professional chef for 50 years and I’m not impressed by culinary hipness.
Your site is a refreshing change from what I usually see online.
Weekend Bakers says
Hi Peter,
So good to hear this. It is our aim to keep it fresh without (too much) distractions. We are also proud we have been sharing our recipes since 2010 without a single advertisement or commercial cooperation. It is just us, Ed & Marieke, and our recipes and tips. Glad you like it.
Enjoy your baking and cooking this festive season!